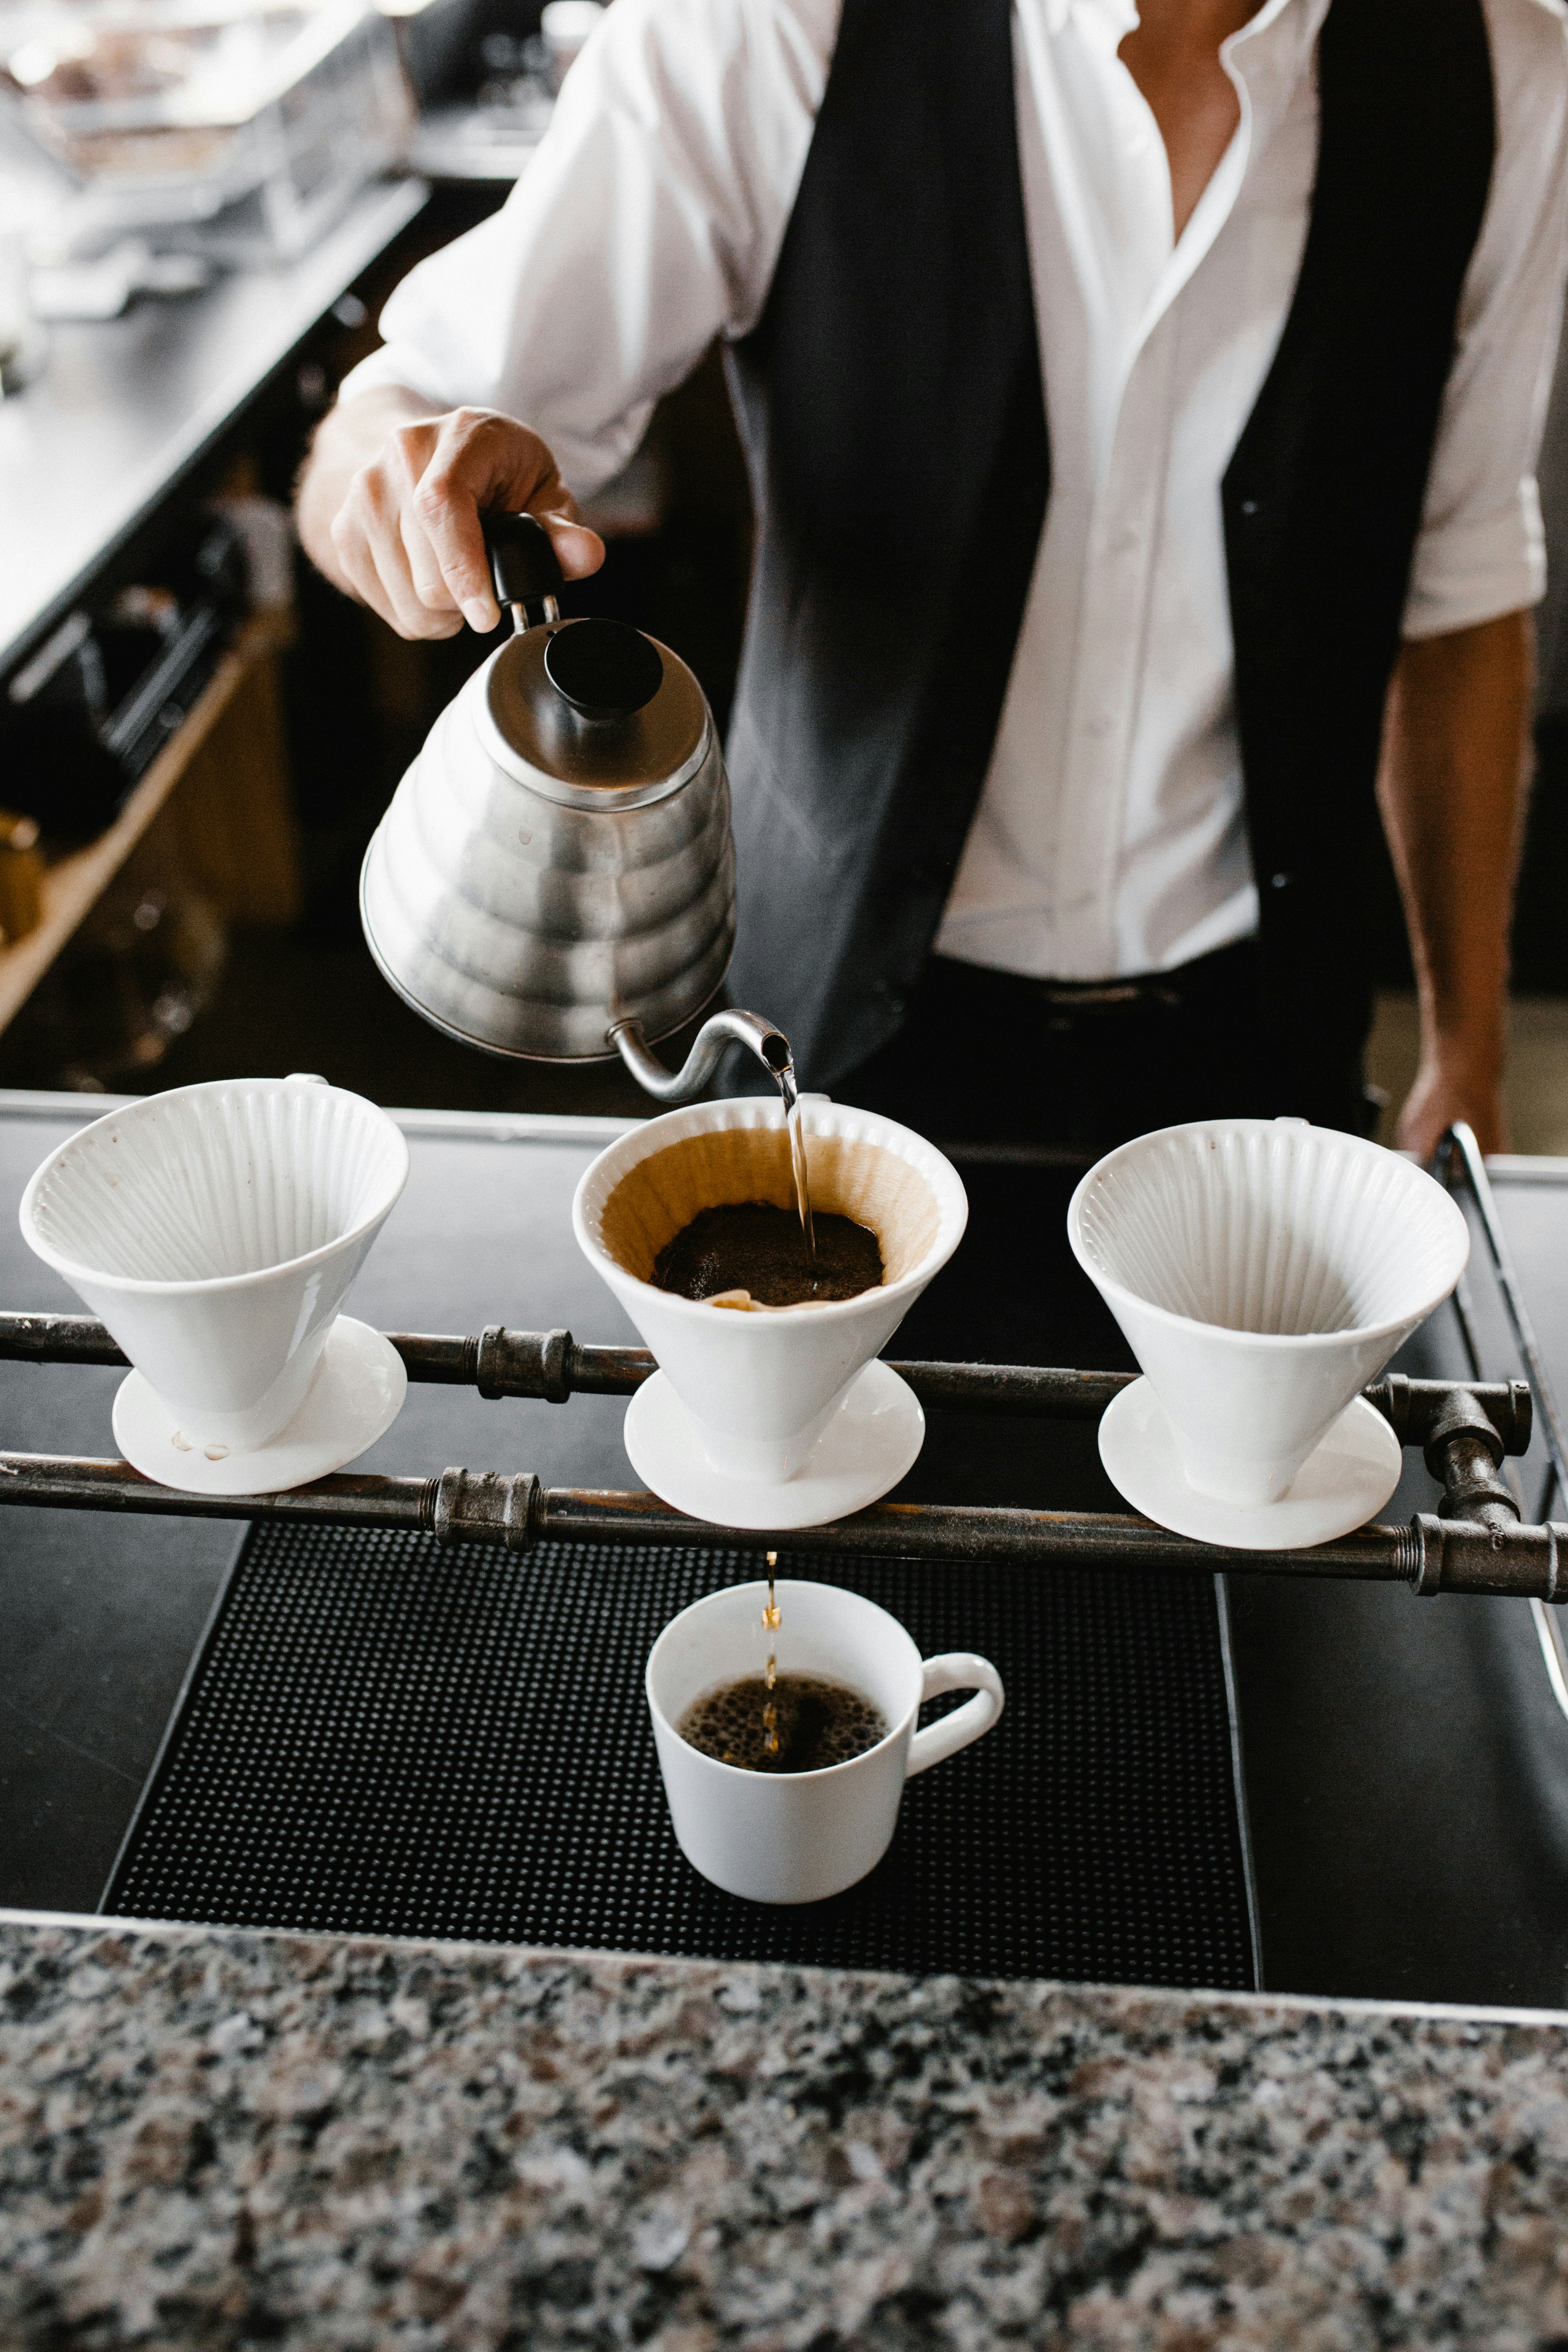
Master the Art of Waterflow: Manual Brew Techniques
Elevate your coffee brewing with the perfect waterflow technique! Whether you're a beginner or a seasoned coffee enthusiast, mastering the pour can make all the difference in the taste of your cup.
In my last post, we talked about drip coffee, but now I want to dive into something more specific—pouring patterns. I recently came across an Instagram post about this, and it got me thinking: How much of an impact does the way you pour actually have on your brew? Turns out, it’s huge.
There are three main pouring techniques:
1. Spiral / Circle
2. Center
3. Zig-Zag
Each method affects extraction, flavor balance, and brewing time, so let’s break them down.
Why Does Pouring Matter?
You can make coffee as simple or as complicated as you want. You could just pour water on coffee grounds and call it a day, or you can dive deep into the science—water flow, extraction rates, bloom time, turbulence. If you’re a coffee fanatic, every little thing makes a difference.
The way you pour water over your coffee grounds controls:
- Even saturation – Ensures all grounds are extracted equally.
- Extraction rate – Affects flavor intensity and balance.
- Turbulence – Helps avoid channeling (where water finds a path of least resistance and under-extracts certain areas).
So, let’s go step by step and look at these techniques in detail.
1. The Spiral / Circle Pouring Pattern
This is the most common and beginner-friendly method. It’s done by pouring water in slow, controlled spirals from the center outward, then back in again. Think of it like drawing a whirlpool with your kettle.
Why use the Spiral Pattern?
✅ Ensures even saturation and extraction across the entire coffee bed.
✅ Helps avoid under-extracted or over-extracted spots.
✅ Works well for most pour-over devices (V60, Chemex, Kalita Wave).
How to do it:
- Start with a bloom – Pour a small amount of water (about 2x the coffee weight) and let it sit for 30-45 seconds to allow CO₂ to escape.
- Begin pouring in a spiral – Slowly pour water in circular motions, from the center outward and back in, maintaining a steady flow.
- Keep the kettle close – The closer the spout is to the coffee bed, the more control you have over the flow.
- Pour in stages – Instead of dumping all your water at once, aim for 3-4 pours to allow the grounds to absorb water evenly.
📌 Pro tip: If you notice water draining too fast, your grind size might be too coarse. If it's too slow, it's probably too fine.
2. The Center Pouring Pattern
This technique is all about keeping the pour steady in one spot—directly in the center of the coffee bed. No circles, no zig-zags.
Why use the Center Pattern?
✅ Encourages slower extraction, which can highlight subtle flavors.
✅ Can work well for deeper coffee beds or smaller brews.
✅ Good for when you want to experiment with longer brew times.
Potential downside
❌ Risk of under-extraction – Since water doesn’t move around, the outer edges of the coffee bed may not get extracted as much.
How to do it:
- Start with a bloom (as always).
- Pour directly into the center and let the water naturally flow outward.
- Maintain a consistent flow rate – Don't pour too fast, or the water will rush through and leave the coffee under-extracted.
- You may need a longer brew time to compensate for the lack of turbulence.
📌 Best for: People who like slower extractions and stronger body in their coffee.
3. The Zig-Zag Pouring Pattern
This one is a bit more dynamic—it’s like the spiral method but in a back-and-forth motion instead of circular movements. You move the kettle left to right, almost like painting a brushstroke across the coffee bed.
Why use the Zig-Zag Pattern?
✅ Helps with even extraction while avoiding over-agitating the coffee bed.
✅ Faster than the spiral method, making it more efficient.
✅ Works well with flat-bottom drippers like the Kalita Wave.
Potential downside
❌ Harder to maintain a consistent flow rate, so it requires more control.
❌ If done too aggressively, it can cause uneven agitation.
How to do it:
- Start with the bloom (you should see a pattern by now).
- Begin pouring in a zig-zag motion across the coffee bed, ensuring water hits all grounds evenly.
- Keep your hand steady – If you go too fast, you’ll create turbulence that could lead to uneven extraction.
- Adjust based on your grind size – This method can work well with medium to fine grinds.
📌 Best for: Efficient extractions when you want a quick but evenly brewed cup.
Final Thoughts: Which One Should You Use?
There’s no “one size fits all” when it comes to pouring patterns. It really depends on:
✔ The coffee beans you’re using
✔ The grind size
✔ Your pour-over device
✔ How much time you have
If you’re just starting, I’d say go with the spiral method—it’s forgiving and gives you a great baseline. If you’re experimenting, try the center pour for a slower extraction or zig-zag if you want to switch things up.
At the end of the day, coffee brewing is both an art and a science. You can nerd out over every variable, or you can keep it simple. But the more effort you put in, the more rewarding it is. A well-crafted cup of coffee just hits different—especially when you know you made it with intention.
So next time you brew, think about how you’re pouring. It could be the key to unlocking your best cup yet.
☕ Cheers to better coffee!
